Discovering a leak in your garden hose right when you need it most can be frustrating. But before you rush to buy a new one, consider a simple repair garden hose solution. Repairing your hose not only saves money but also helps reduce waste and keeps your watering routine on track. Whether it’s a tiny puncture, a cracked fitting, or a stubborn leak, knowing how to fix it quickly with the right tools can make a huge difference. In this guide, you’ll get straightforward, reliable tips to restore your hose and keep your garden thriving—without the hassle of replacement.
Common Causes of Garden Hose Damage
Garden hoses often face wear and tear that leads to leaks and breaks. Understanding the common causes of garden hose damage can help you spot problems early and fix leaky garden hoses quickly.
- Sun and Weather Exposure: Prolonged exposure to sunlight and harsh weather weakens the hose material, causing cracks and brittleness.
- Kinks and Twists: Sharp bends or twisting compress the hose walls, creating punctures or pinholes over time.
- Abrasion and Rough Surfaces: Dragging the hose over rough ground or sharp edges can wear down the outer layer, leading to leaks.
- Freezing Temperatures: Water left inside the hose can freeze, expand, and cause splits or fractures.
- Loose or Damaged Fittings: Connectors and hose ends that are worn out or improperly secured often cause leaks at the joints.
- Improper Storage: Leaving your hose coiled tightly or in direct sunlight can shorten its lifespan and create weak spots.
By knowing these common garden hose leak repair triggers, you can prevent damage and keep your hose working longer. Using quality tools like Qiyi Garden Tools can make your DIY repairs easier and more durable.
Before you start your garden hose leak repair, it’s important to have the right tools and materials on hand. Here’s a quick list to help you fix leaky garden hose issues effectively:
- Hose mender kit: Essential for permanent repairs on mid-hose leaks. These kits usually come with connectors and clamps.
- Hose clamps: For securing fittings and patching small punctures.
- Replacement hose end fittings: If the hose ends or brass hose connectors are damaged.
- Utility knife or scissors: To cut the hose cleanly for splicing or replacing parts.
- Rubber washers: Handy for fixing leaks in hose connections, especially around faucets or nozzles.
- Waterproof tape or temporary hose patch: Good for quick fixes on small leaks or pinholes.
- Screwdriver or wrench: Necessary for tightening hose clamps or replacing fittings.
- Sandpaper (optional): To smooth hose edges after cutting, ensuring a better seal when splicing.
Having these tools ready will save time and help you complete your garden hose repair faster and more efficiently. If you’re looking for high-quality hoses and fittings to replace damaged parts, consider checking out sturdy options like the PVC garden high elastic hose for better durability.
Step 1: Identify and Locate the Damage
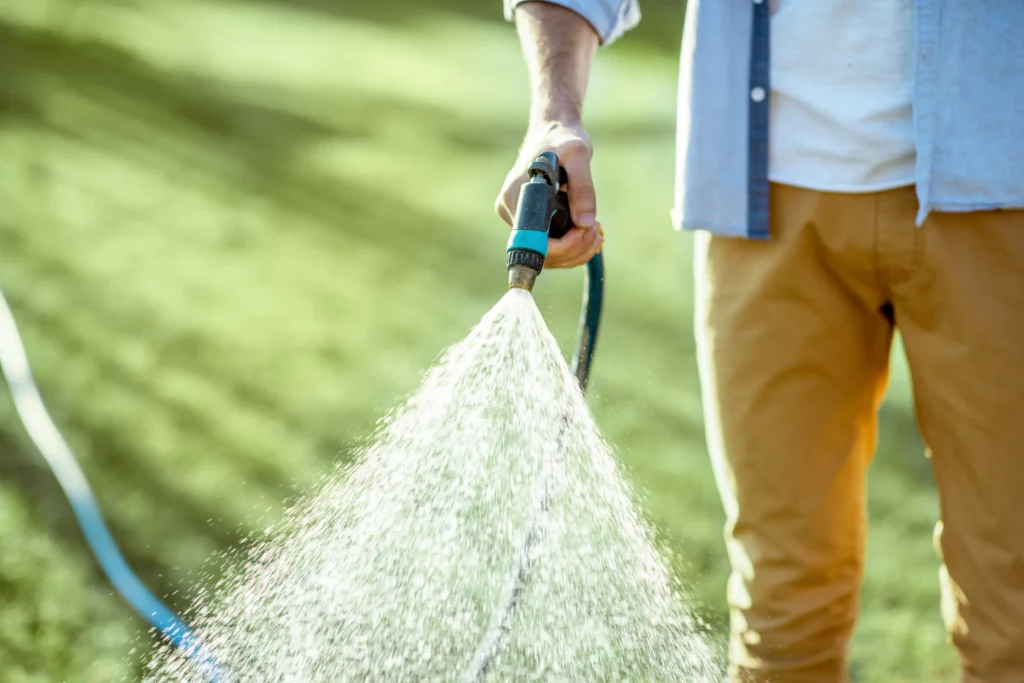
Before you start any garden hose leak repair, it’s crucial to find exactly where the damage is. Common places for leaks or punctures include small pinholes along the hose, cracks near the fittings, or worn-out hose ends. Start by laying the hose flat on the ground and slowly turning on the water at low pressure. Watch closely for any drips, sprays, or wet spots that show the leak’s location.
Don’t forget to check connections at the faucet or nozzle, as leaks often happen at these points too. If the hose has multiple leaks or the damage is hard to spot, try running your hand along the hose to feel for moisture or bubbles. Mark the damaged spots with tape or a marker to make your next steps easier.
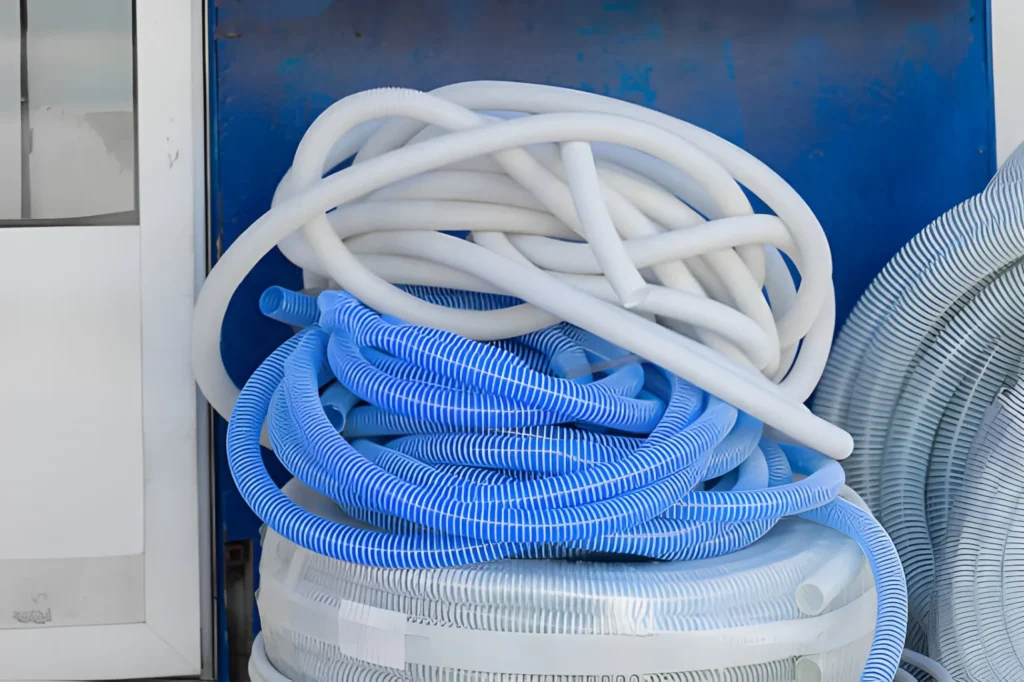
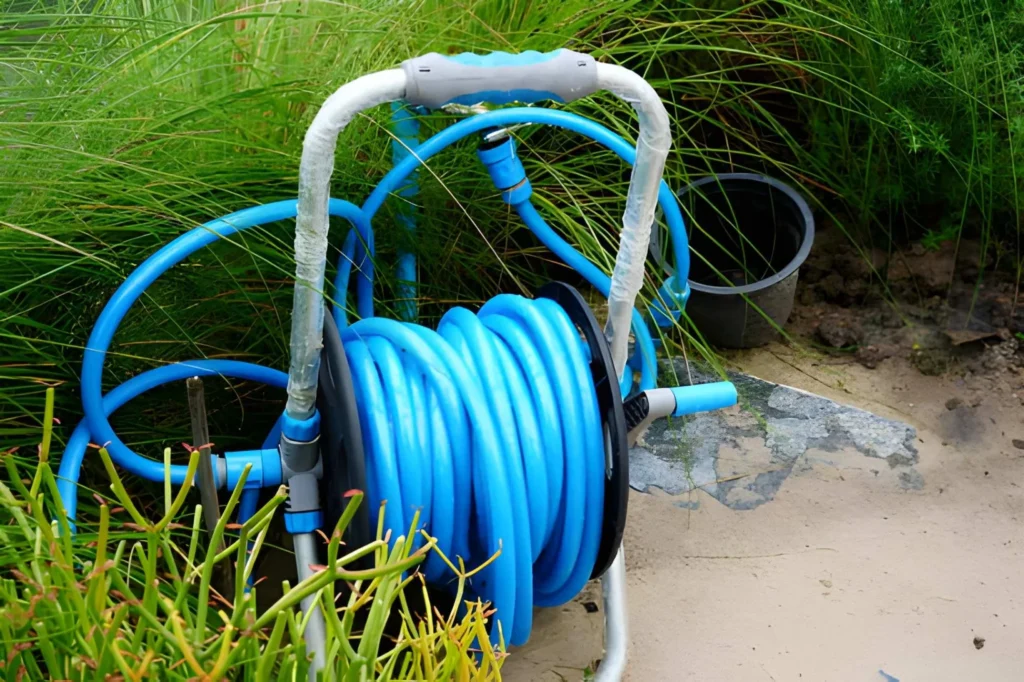
Identifying the exact damage will help you decide whether you need a quick patch, a hose mender kit, or to replace fittings entirely. For an easier water flow during testing and repair, using a reliable and durable water hose like the Blue Water Hose can make the job smoother.
Step 2: Quick Fixes for Minor Leaks and Pinholes
If you notice minor leaks or pinholes in your garden hose, quick fixes can save you time before going for a permanent repair. For tiny punctures, try wrapping the damaged area tightly with waterproof tape or use a temporary hose patch designed for small leaks. These quick solutions will stop water from escaping and keep your hose usable in the short term.
Another simple fix is applying rubber cement or a silicone sealant over the leak, then covering it with a patch or rubber piece. Make sure the hose is dry before applying any adhesive to ensure good bonding.
For small leaks, a DIY hose splice can also work well—cut out the damaged section and use a hose mender kit from a hardware store for a fast garden hose leak repair. These kits usually come with durable hose repair fittings to restore water flow without replacing the entire hose.
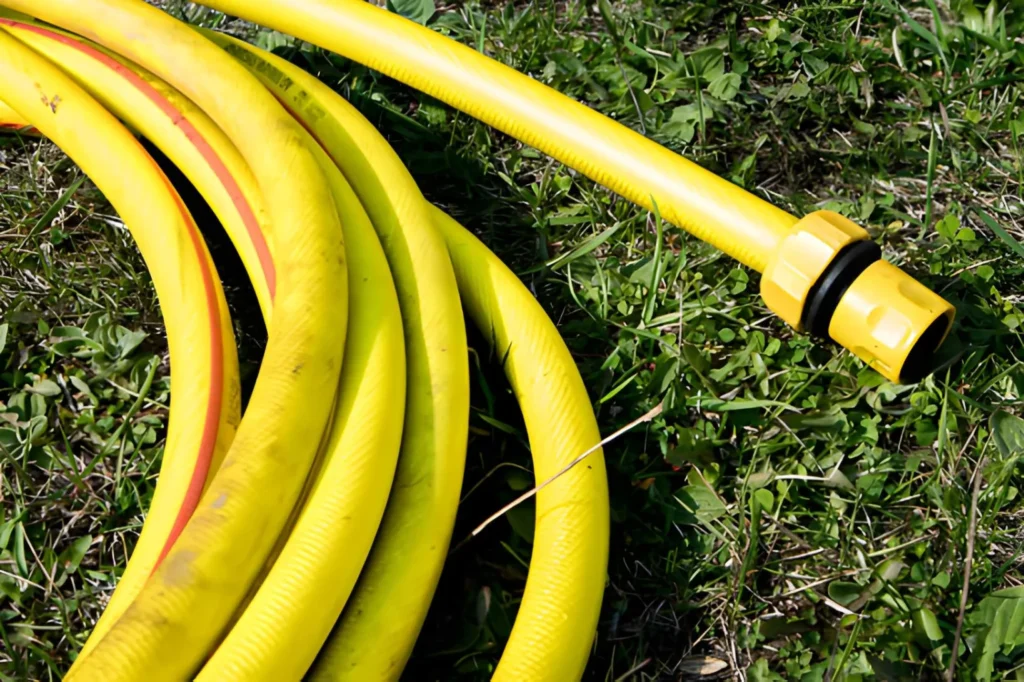
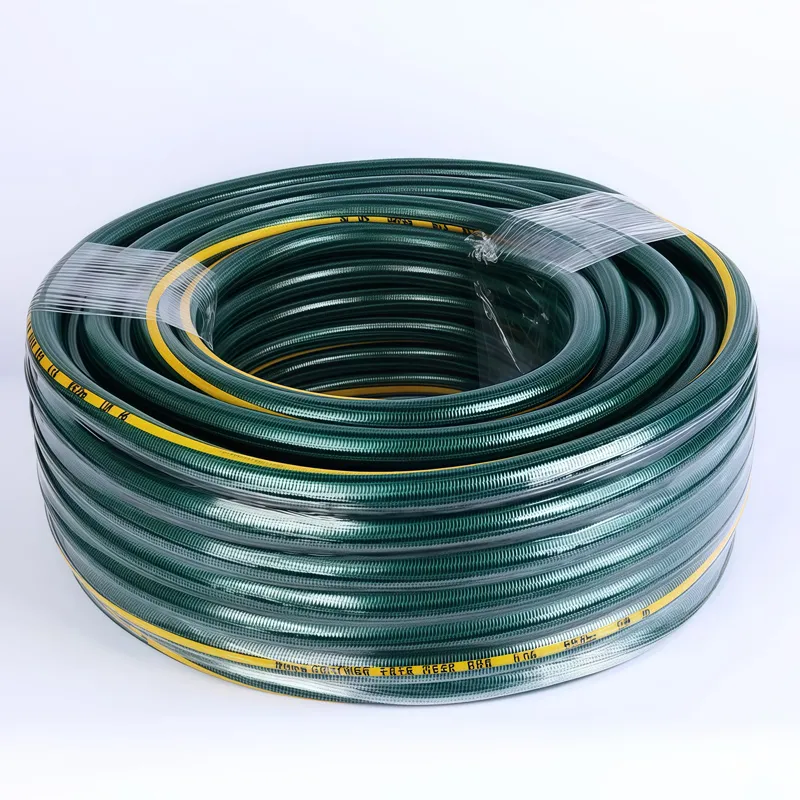
If you want reliable quick fixes, consider pairing these solutions with quality garden hose parts like brass hose connectors or hose clamps to strengthen repairs, especially near high-pressure areas. For convenience, check out tools like the bright yellow PVC hose, which is built to handle early wear and tear better than standard models.
These quick fixes will keep your hose running smoothly until you’re ready for a more permanent garden hose leak repair.
Step 3: Permanent Repair for Mid-Hose Leaks (Using a Hose Mender)
If you find a leak or puncture in the middle of your garden hose, a hose mender is the best solution for a permanent fix. This DIY hose splice lets you cut out the damaged section and reconnect the hose with durable hose repair fittings, restoring its full function without replacing the entire hose.
How to fix a mid-hose leak with a hose mender:
- Turn off the water and drain the hose completely.
- Cut out the damaged part using a sharp utility knife or garden scissors, creating clean, straight edges.
- Insert the hose mender into both open ends. Most hose mender kits come with stiff plastic or brass connectors that fit snugly inside the hose.
- Secure with hose clamps if included, tightening them to prevent any leaks at the splice.
- Test your repair by turning the water back on and watching for drips.
Using a hose mender kit is ideal for mid-hose punctures because it provides a tight seal and often matches the hose diameter, making the garden hose leak repair neat and long-lasting. If you want tips on selecting the right fittings and tools, check out our detailed guide on how to repair garden hose.
This method not only saves you money but also avoids wasting a perfectly good hose due to a small tear or hole. For heavy-duty hoses, choosing brass hose connectors and quality clamps will ensure your repair stands the test of time and pressure.
Step 4: Repairing Damaged Hose Ends or Fittings
Damaged hose ends or fittings are common trouble spots that cause leaks and reduce water flow. To fix leaky garden hose ends, start by cutting off the damaged section cleanly with a sharp utility knife or scissors. Then, use a hose mender kit or replace hose end fittings entirely for a durable garden hose leak repair.
Here’s how to tackle it:
- Remove the old fitting by cutting the hose straight and sliding off the worn end.
- Insert the new fitting (brass connectors are ideal for long-lasting repairs) into the hose.
- Secure with a hose clamp or squeeze the fitting tightly — this prevents leaks at the connection.
- Add a new garden hose washer inside the fitting to ensure a tight seal.
If the damage is on the end attached to your faucet or nozzle, check the washer first. A worn garden hose washer is often the cause of leaks at connections.
Replacing hose ends or fittings is a straightforward DIY hose splice when you have the right tools and parts. For tough garden hose repairs, using beefy fittings or a heavy-duty replacement hose can save time and money. Consider using a high-quality PVC antifreeze odorless garden hose for better durability and fewer repairs down the line.
By fixing the hose ends properly, you’ll stop leaks and keep your garden flowing without interruptions.
Step 5: Fixing Leaks at Connections (Faucet or Nozzle)
Leaks at the faucet or nozzle connections are common and usually easy to fix. Often, these leaks happen because the garden hose washer is worn out or the connection isn’t tight enough. Here’s how to handle it:
Check and replace the garden hose washer: Over time, washers get cracked or hardened, causing leaks. Remove the hose end fitting and swap the old washer for a new one to create a better seal.
Tighten hose connections: Make sure the hose is firmly connected to the faucet or nozzle. Loose fittings are a frequent cause of leaks.
Use brass hose connectors for durability: If you notice damaged hose ends or poor-quality fittings, upgrading to brass hose connectors can improve the seal and prevent future leaks.
Apply plumber’s tape: Wrapping plumber’s tape around the threads of the hose end or faucet can help create a watertight seal.
Inspect hose clamps: For hoses with clamps at the connection point, check if the clamp is loose or damaged. Tighten or replace it as needed to stop leaks.
For those using watering nozzles, consider replacing or upgrading to a reliable garden hose watering nozzle with better fittings to avoid leaks at the spray end. Similarly, if you’re working with connectors, the right nipple straight connector can provide a secure fit and prevent dripping.
Taking these steps will help you fix hose connection leaks quickly and keep your watering setup efficient and mess-free.
Testing Your Repair and Troubleshooting
Once you’ve completed your garden hose leak repair, it’s important to test the fix to make sure it’s holding up. Turn on the water slowly and watch the repaired section closely. Look for any drips, spray, or wet spots around the hose mender, fittings, or patched areas.
If you still notice leaks, tighten hose clamps or fittings, or consider replacing washers that may be causing a hose connection leak. For minor pinhole leaks, you might want to try a temporary hose patch before moving on to more permanent DIY hose splice solutions.
If the water pressure seems low or the leak persists, double-check that the hose end fittings are properly sealed and secured. Sometimes, damaged brass hose connectors or worn-out garden hose washers are the real culprits behind a fix leaky garden hose issue.
Take your time in this step—it ensures your repair lasts longer and prevents wasting water. For useful tips on maintaining your water tools, check out this garden water gun buying guide and keep your entire watering setup in top shape.
Prevention Tips to Avoid Future Damage
Preventing garden hose damage is the best way to save time and money on repairs. Here are some simple tips to keep your hose in good shape and avoid common issues like leaks and punctures:
- Store Properly: Always drain your hose after use and store it in a cool, shaded place. Avoid leaving it in direct sunlight or cold conditions that can cause cracking.
- Avoid Kinks and Twists: When you coil your hose, do it loosely to prevent kinks that lead to weak spots and leaks. Using a hose reel or storage rack helps keep it neat.
- Use Durable Hose Repair Fittings: If you frequently repair the same sections, consider using brass hose connectors or durable hose repair fittings for longer-lasting results.
- Check Hose End Fittings and Washers: Regularly inspect and replace garden hose washers to fix hose connection leaks and prevent water waste.
- Don’t Drag Your Hose Over Rough Surfaces: Rough ground or sharp edges can create punctures or tears. Lift or carry the hose when moving it.
- Use Protective Hose Covers: If your hose stays outdoors, investing in protective covers or sleeves can shield it from debris and weather damage.
- Turn Off Water When Not in Use: Leaving the water on while the hose is disconnected or coiled can strain fittings and cause leaks.
Following these prevention tips will help extend the life of your garden hose and reduce the need for frequent garden hose leak repairs or replacements. For more tools to maintain your watering setup, check out reliable garden tools like this rotary sprinkler or durable garden spray guns.