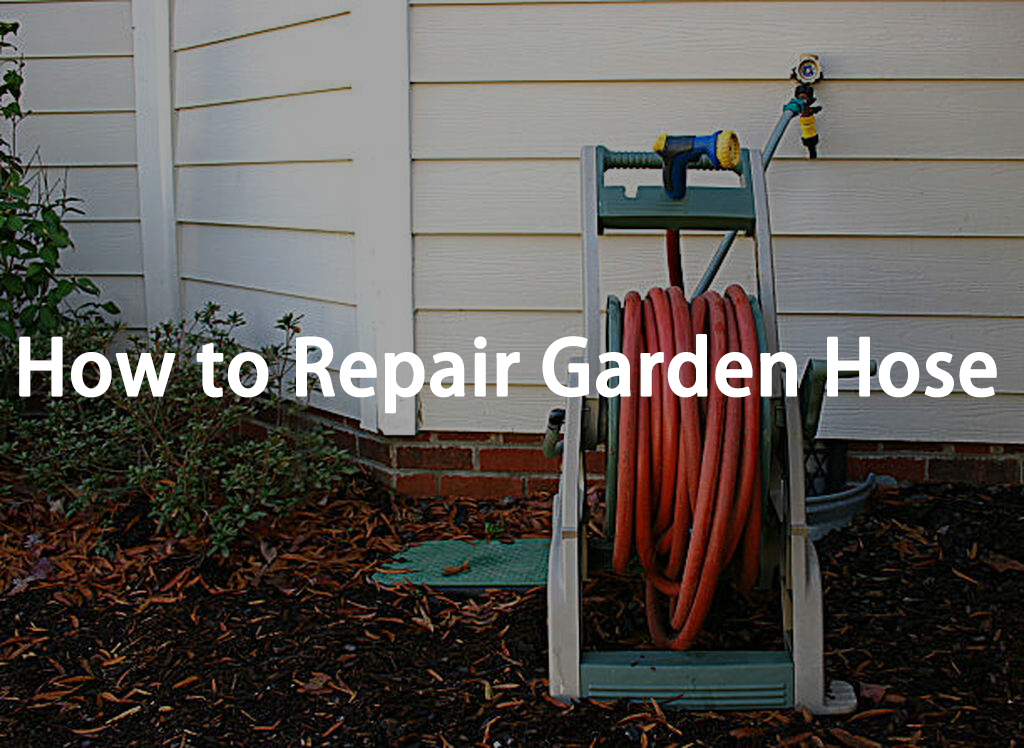
Detecting a leak in a garden hose is typically straightforward, particularly when water discharge is directed toward the operator. Rather than discarding the garden hose, consider that a basic, low-cost repair can often restore its operational integrity.
Small Leaks Section
For repairing a minor puncture or leak in a garden hose, utilize electrical tape, duct tape, or purpose-built hose repair tape. Ensure the affected section of the garden hose is cleaned and dried prior to application. Apply the tape with overlapping layers while encircling the hose. Avoid excessive tension during wrapping to prevent hose deformation, which could compromise the seal.
Faucet or Spigot Leaks Section
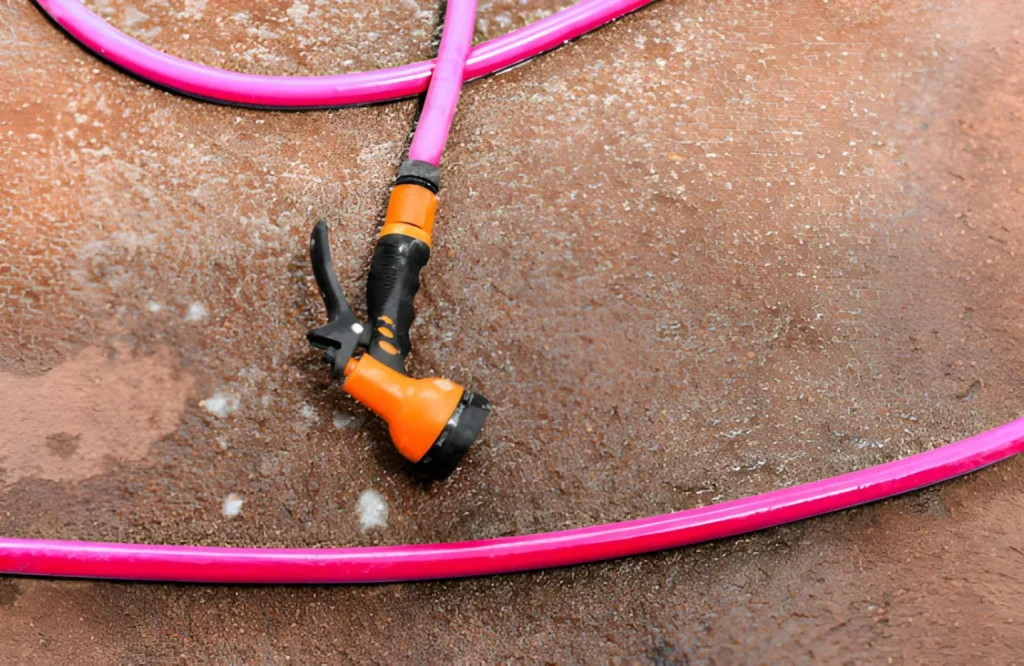
Leaks at faucets or spigots in garden hose systems typically arise from one of two primary causes. Initially, washers within the hose connectors may degrade or harden due to prolonged exposure.
Replacing the washer represents the most straightforward repair method and frequently resolves the issue entirely. Extract the deteriorated washer and insert a new one in its place. Should leakage persist, substitution of the coupling may be required.
Alternatively, the issue may originate from the faucet assembly. Over time and through repeated operation, the handle or valve mechanism can loosen, leading to seepage. Employ a screwdriver or pliers to secure the upper screw or nut. This adjustment typically eliminates the leak.
Repairing Large Leaks Section
Substituting a garden hose end or addressing a central segment damage entails slightly greater complexity yet remains a manageable procedure. The process involves excising the compromised section and installing a mender or coupling in its stead. Execute clean, perpendicular cuts on the damaged areas using a precise blade.
To ensure compatibility of the repair component, transport the excised segment to the supplier during procurement. This facilitates selection of appropriately sized parts matching the garden hose diameter. Note that repair component configurations can vary across manufacturers. Verify that the chosen part is suitable for the hose material, be it rubber or vinyl.
To Make Replacing Fittings Easier Subsection
To facilitate the replacement of fittings:
- Ensure the garden hose is thoroughly cleaned and dried.
- Apply a minimal amount of soap or petroleum jelly to the repair site to enhance pliability and simplify manipulation.
Repair Garden Hose Instructions Section
Instructions
- Step 1 :Precisely excise the damaged portion of the garden hose, ensuring the resulting ends are as perpendicular as feasible.
- Step 2:Loosen the screws on each end of the replacement coupler.
- Step 3:Slide the cut end of each hose segment into one side of the clamp mender. (Confirm full insertion.)
- Step 4:Secure the screws uniformly until the clamp provides sufficient retention to resist hose extraction.
- Step 5:Connect the garden hose to a sprinkler or nozzle and activate the water supply to verify the joint. If leakage occurs, adjust the connection tightness until seepage ceases.
Protecting Your Garden Hose Section
A quality garden hose constitutes a prudent investment in durability. Proper maintenance ensures reliable performance across multiple seasons of landscaping and horticultural applications.
Adhere to the following protocols to extend the service life of the garden hose:
Upon deactivation, fully evacuate residual water from the garden hose. Elevate it over the shoulder to expel any remaining moisture, as retained water can induce material degradation.
Store the garden hose away from direct sunlight exposure. Thermal expansion of contained water, combined with ultraviolet radiation, can compromise structural integrity.
After usage, coil the garden hose manually or via a reel. Address any kinks promptly by recoiling to avert potential fractures.
Evacuate water, detach all accessories, and position the garden hose in a protected environment during winter storage.
Substitute washers upon detection of leakage or seepage. Routine annual replacement in spring is recommended.
Frequently Asked Questions Section
How Do I Fix the Middle Part of My Garden Hose?
If your leak is within a foot of the male or female end connectors, simply cut off the end of the For leaks situated within approximately one foot of the male or female end connectors, sever the end of the garden hose and install a new garden hose connector.
For central hose leaks, resect the affected segment and reconnect the garden hose using a repair coupling or mender.
How Do I Fix a Leaky Garden Hose Connector?
A leaking connector can be remedied by installing a fresh rubber hose washer. With the water supply deactivated, detach the affected hose end. Employ needle-nose pliers or a compact screwdriver to extract the degraded gasket from within the coupling.
Insert the replacement gasket into the hose coupling manually, ensuring complete seating. Reattach the garden hose and inspect for residual leaks.